C-MOR Video Surveillance on VMware ESX Server
This guideline illustrates the installation of the C-MOR Video Surveillance Virtual Machine on VMware ESX Server. The Virtual Video Surveillance Recorder C-MOR can be deployment in a few minutes on a virtualization system like VMware, Hyper-VM, KVM or VirtualBox.
Please start the installation (Deployment) by downloading the C-MOR VMware image from: http://www.c-mor.com/video-surveillance-download.

Extract the ZIP file after the download into a separate folder.
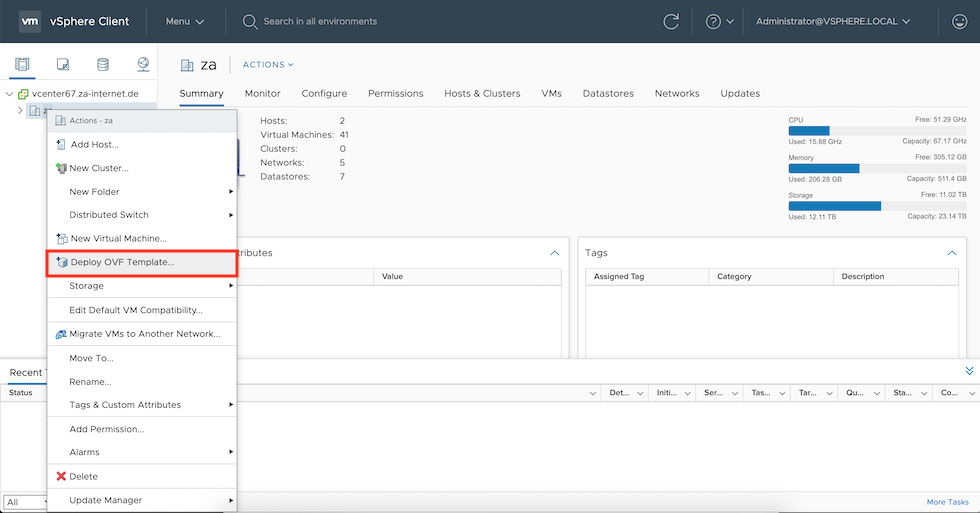
Login into ESX/VMware vCenter Management Interface and and right click on your server environment. Select "Deploy OVF Template...":
Select "Local File" and click on "Choose Files" in the window that opened:
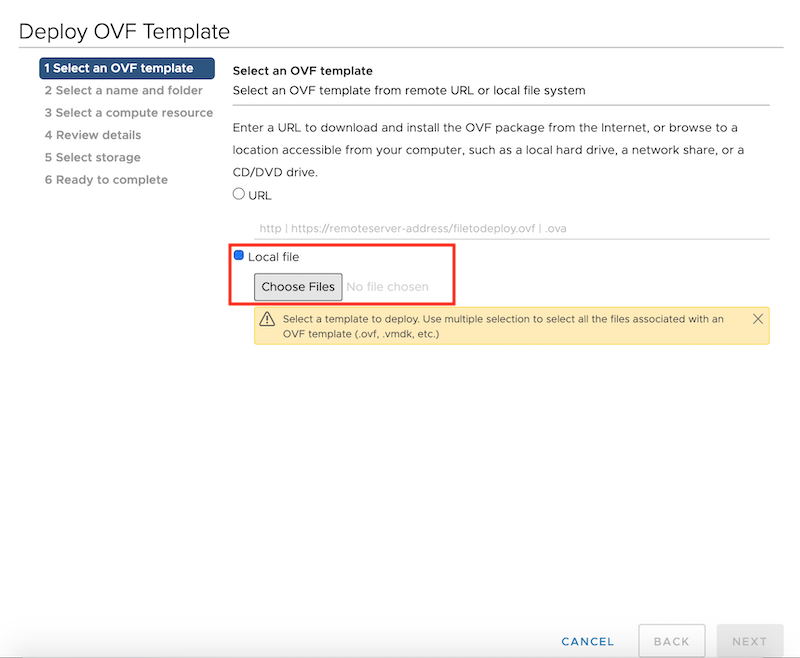
Select form the just extracted files the following:

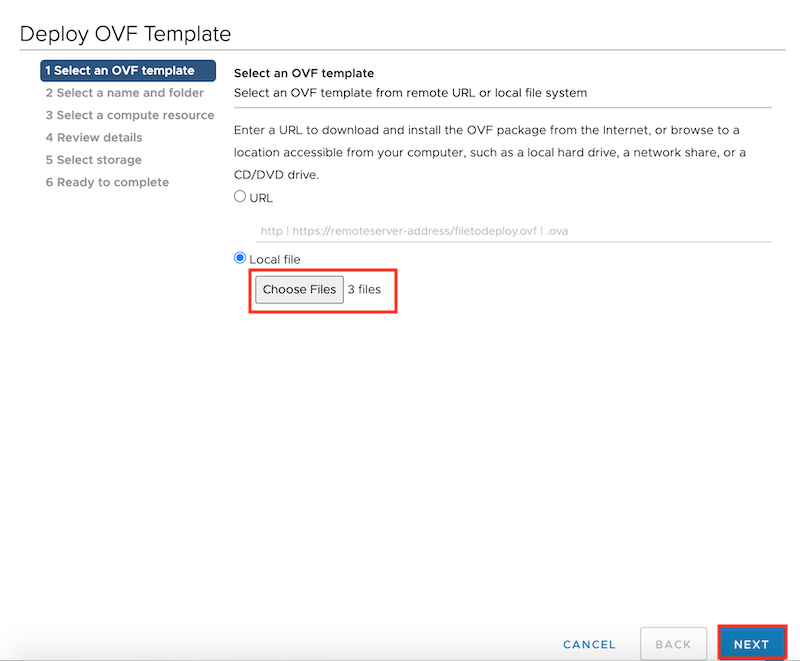
Now the file selection of the vCenter Deploy OVF Template window shows 3 selected files. Click next in the right bottom area:
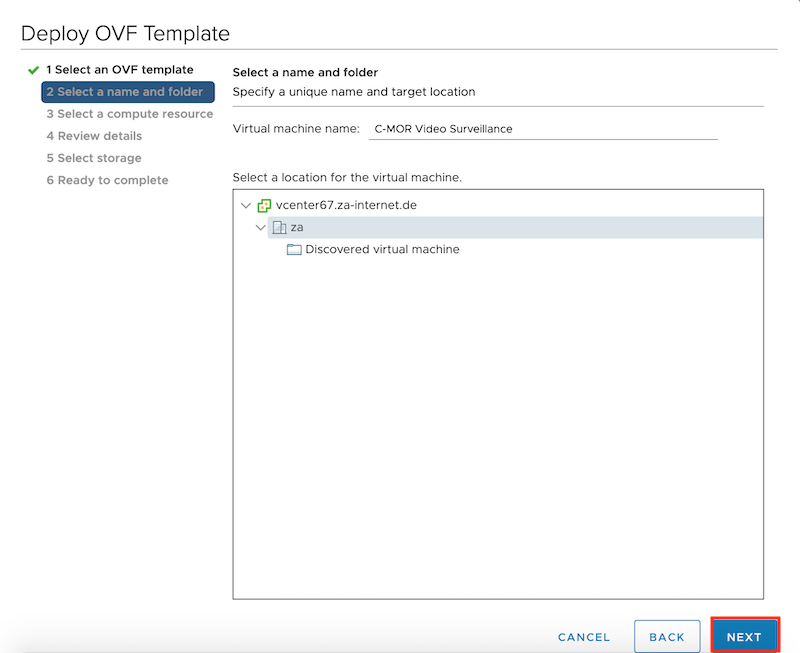
Select the location where you want to deploy the Video Surveilance C-MOR inside your VMware Infrastructure:
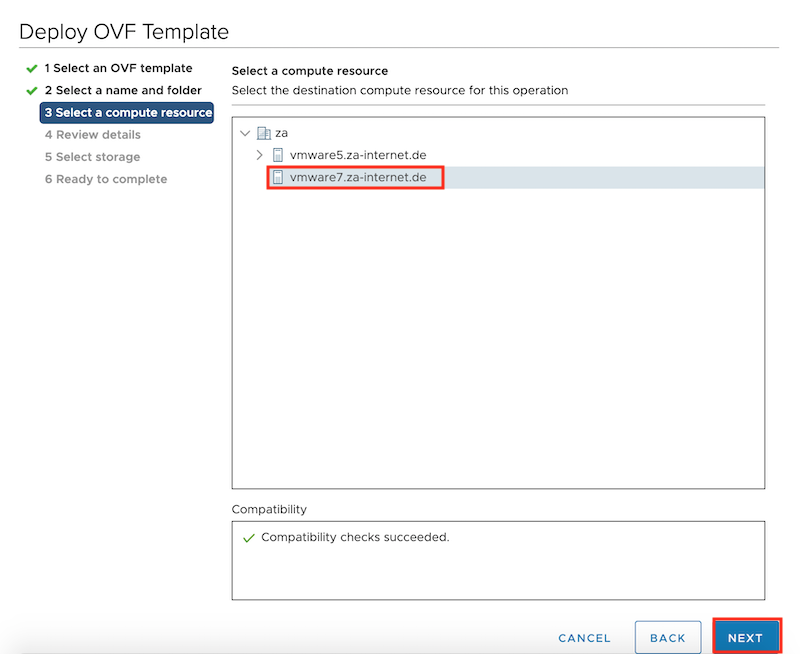
Select the server on which the Video Surveillance system is deployed:
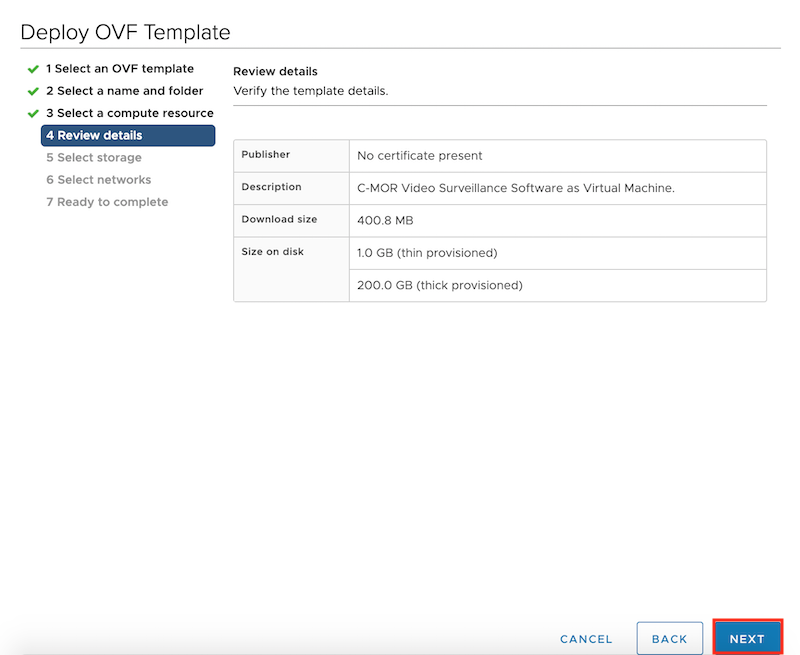
Confirm the settings in the next window and click "NEXT":
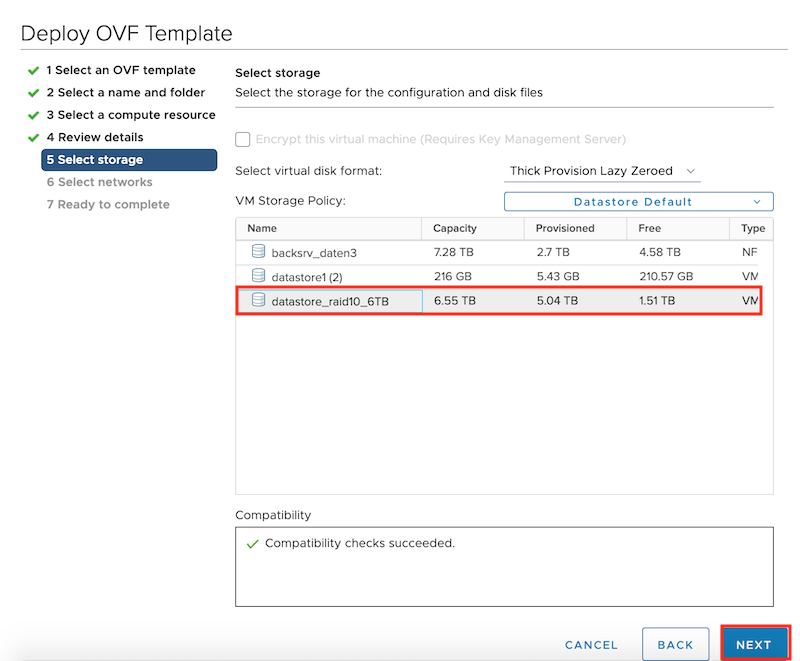
Select the storage location where the Video Surveillance will be installed and click "NEXT":
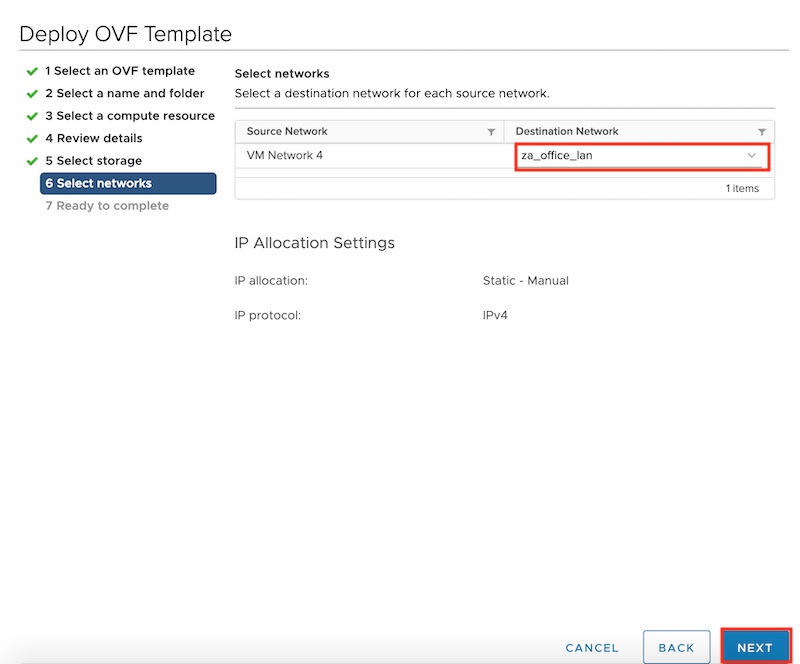
Select the VMware network in the next network. If required another network adapter could be added later to separate the Video Surveillance traffic:
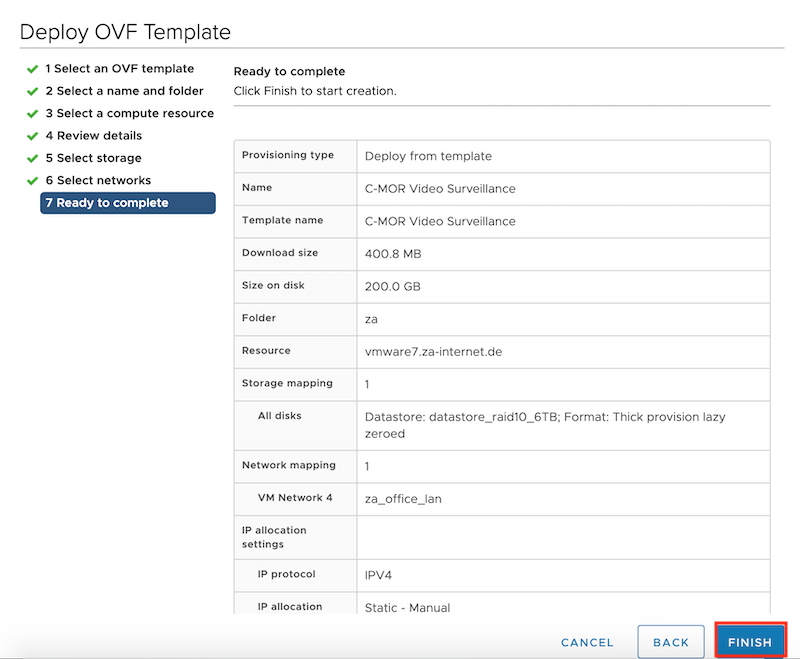
Confirm the final settings of the OVF Template Deployment to start the installation of C-MOR Video Surveillance:
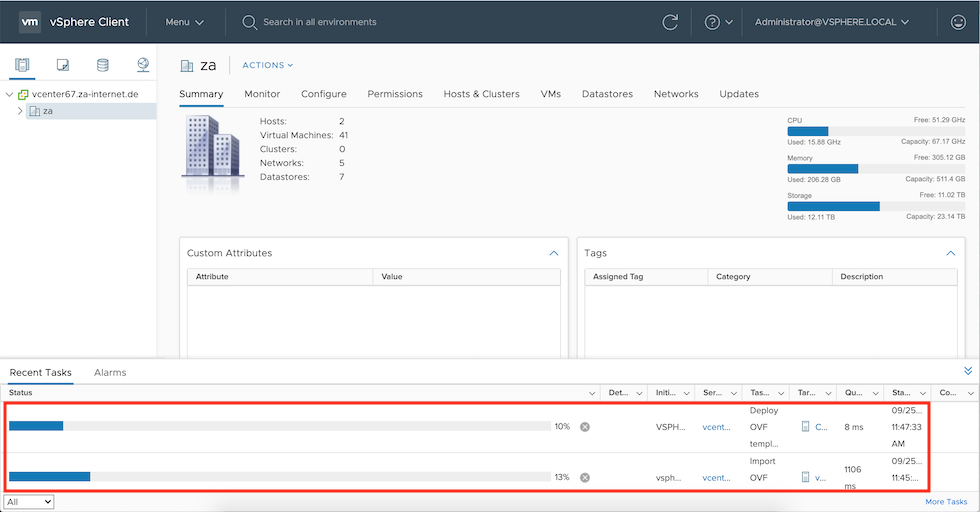
Now the window for the OVF Template Deployment closes and the vCenter shows the status of the Deployment:
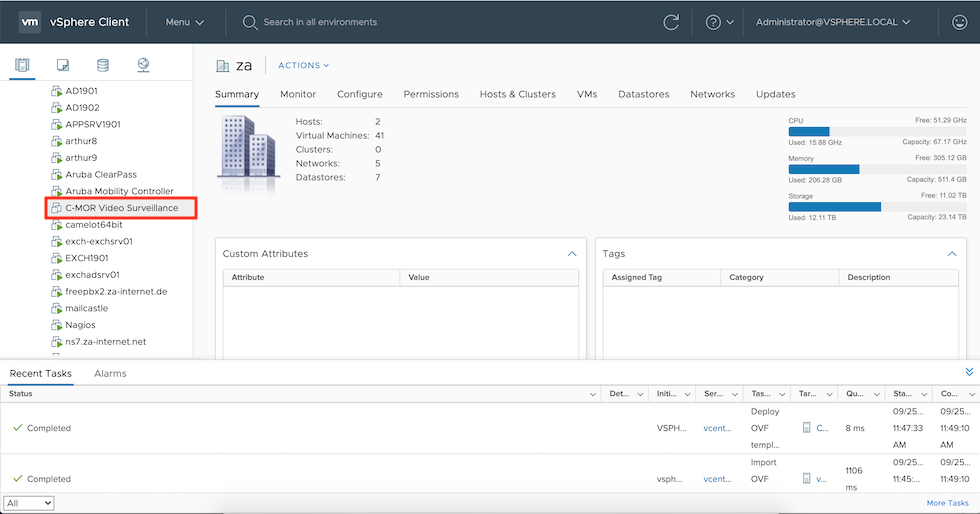
Now C-MOR is installed. Start it from the vCenter. Select it from the left infrastructure tree using the right mouse button:
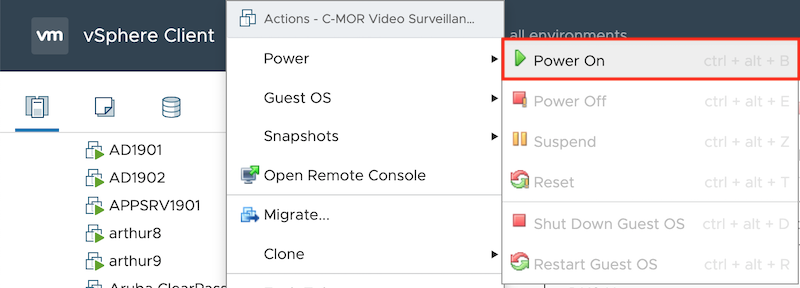
The context menu opens (right click) and select "Power on":
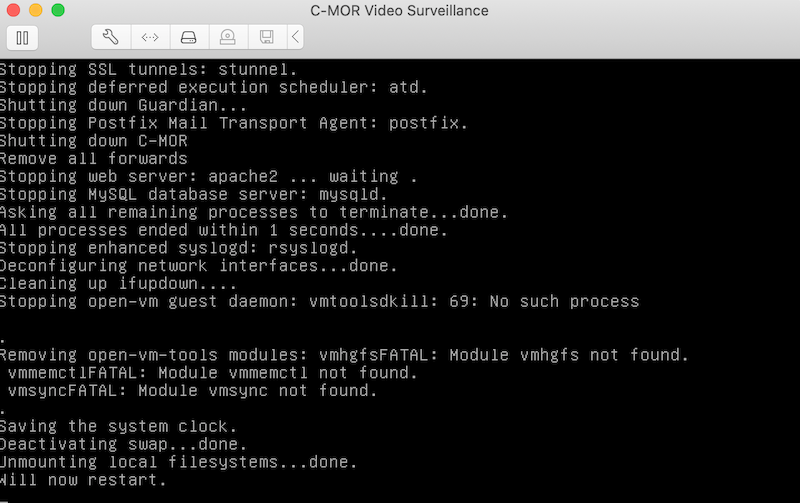
Also open the Remote Console to review the start of C-MOR. C-MOR restarts once automatically again for the initial startup:
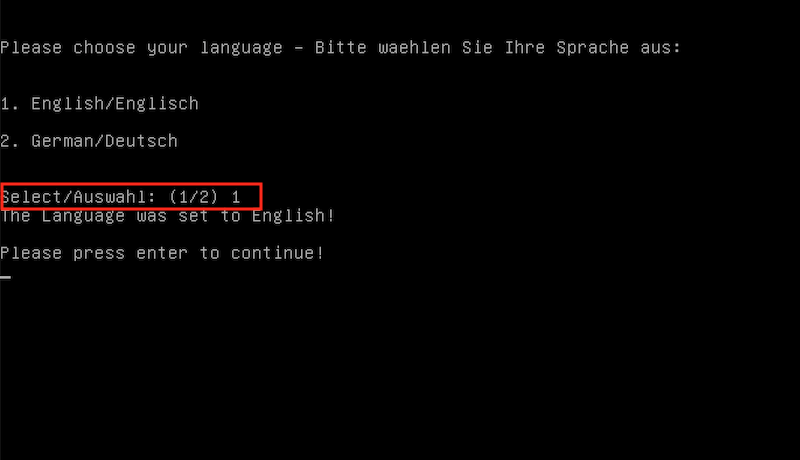
Select first the language after the successful rollout C-MOR:
Now the C-MOR Console is displayed with the basic settings. The default password is "admin" to change settings:
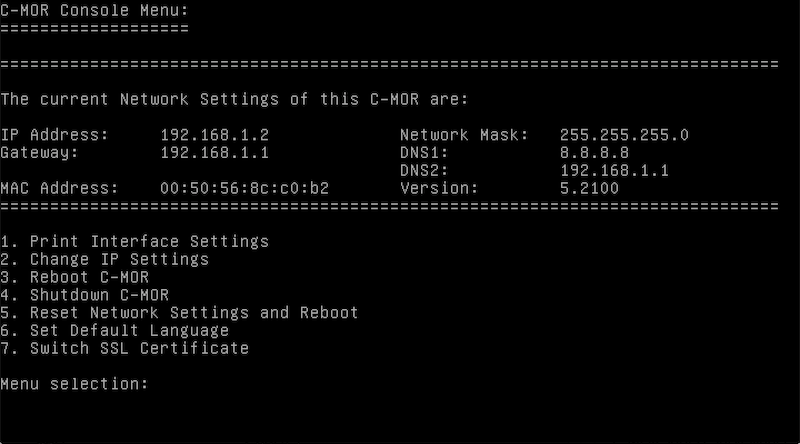
The default IP of C-MOR is 192.168.1.2. You can change it now in the C-MOR console or if C-MOR was rolled out inside the network 192.168.1.0/24 by entering http://192.168.1.2 in the web browser. Change the IP address ff this is setting not capable and enter the just set IP in the web browser to access C-MOR. After accepting the Disclaimer the web interface shows up:

Now proced with the camera configuration of camera 1 or install the license.
Not sure yet what the benefit of C-MOR is?
